Sunday, December 19, 2010

The Quintessential Christmas Cake

How does something become a holiday tradition? I don't remember when I discovered red velvet cake. It may well be I had never tasted one before I baked my first.  I honestly can't remember!  But I do know I have baked them for so many Christmases now it would seem downright bah hum bug to skip a year.  If asked to pick a favorite cake (which would be like choosing a favorite child) I would certainly list red velvet as a top contender. The cream cheese frosting is of course a contributing factor since in my humble opinion frosted shoe leather could be quite appetizing if smeared with a bit of the heavenly stuff.  But it truly has much to do with the cake itself.  A successful red velvet cake lives up to its name with a silky texture, a fine crumb that clings together, plentifully moist so that a knife glides smoothly through the cake to make each slice.  This cake is not cloyingly sweet nor is it overly chocolate even though cocoa contributes both taste and color.  I have wondered how I would describe the taste if blindfolded.  Would I distinguish it as chocolate or would I just detect an undefined richness?

The recipe I offer you today is tried and true and has never failed me.  It hails from my Dixie Delights cookbook, published in 1983 by the St. Francis Hospital Auxiliary in Memphis, Tennessee, a gift from my mother after a visit to my sister when she lived there in 1984.  This cookbook has been around the block a few times and is one of my go-to-sources for good Southern sweets and desserts.  The red velvet cake is a perfect example of why I use this cookbook so consistently. The layers bake marvelously flat, are easily released from the pans after only slight cooling and frost beautifully.  I can pretty much guarantee you a cake that is a double threat--baked up with both great taste and festive presentation.  I sacrificed much this weekend to bake a cake for the sole purpose of photographing the process.  I guess now we'll just have to consume this one quickly so I can bake a fresh one for Christmas Day!  Somehow as I cut into the cake just a few hours ago, it didn't feel like much of a sacrifice.  It felt rather as if the Christmas season had arrived!

Red Velvet Cake
1-1/2 cups sugar
2 cups oil
2 eggs
1 teaspoon soda
1 teaspoon salt
1 teaspoon vinegar
1 tablespoon cocoa
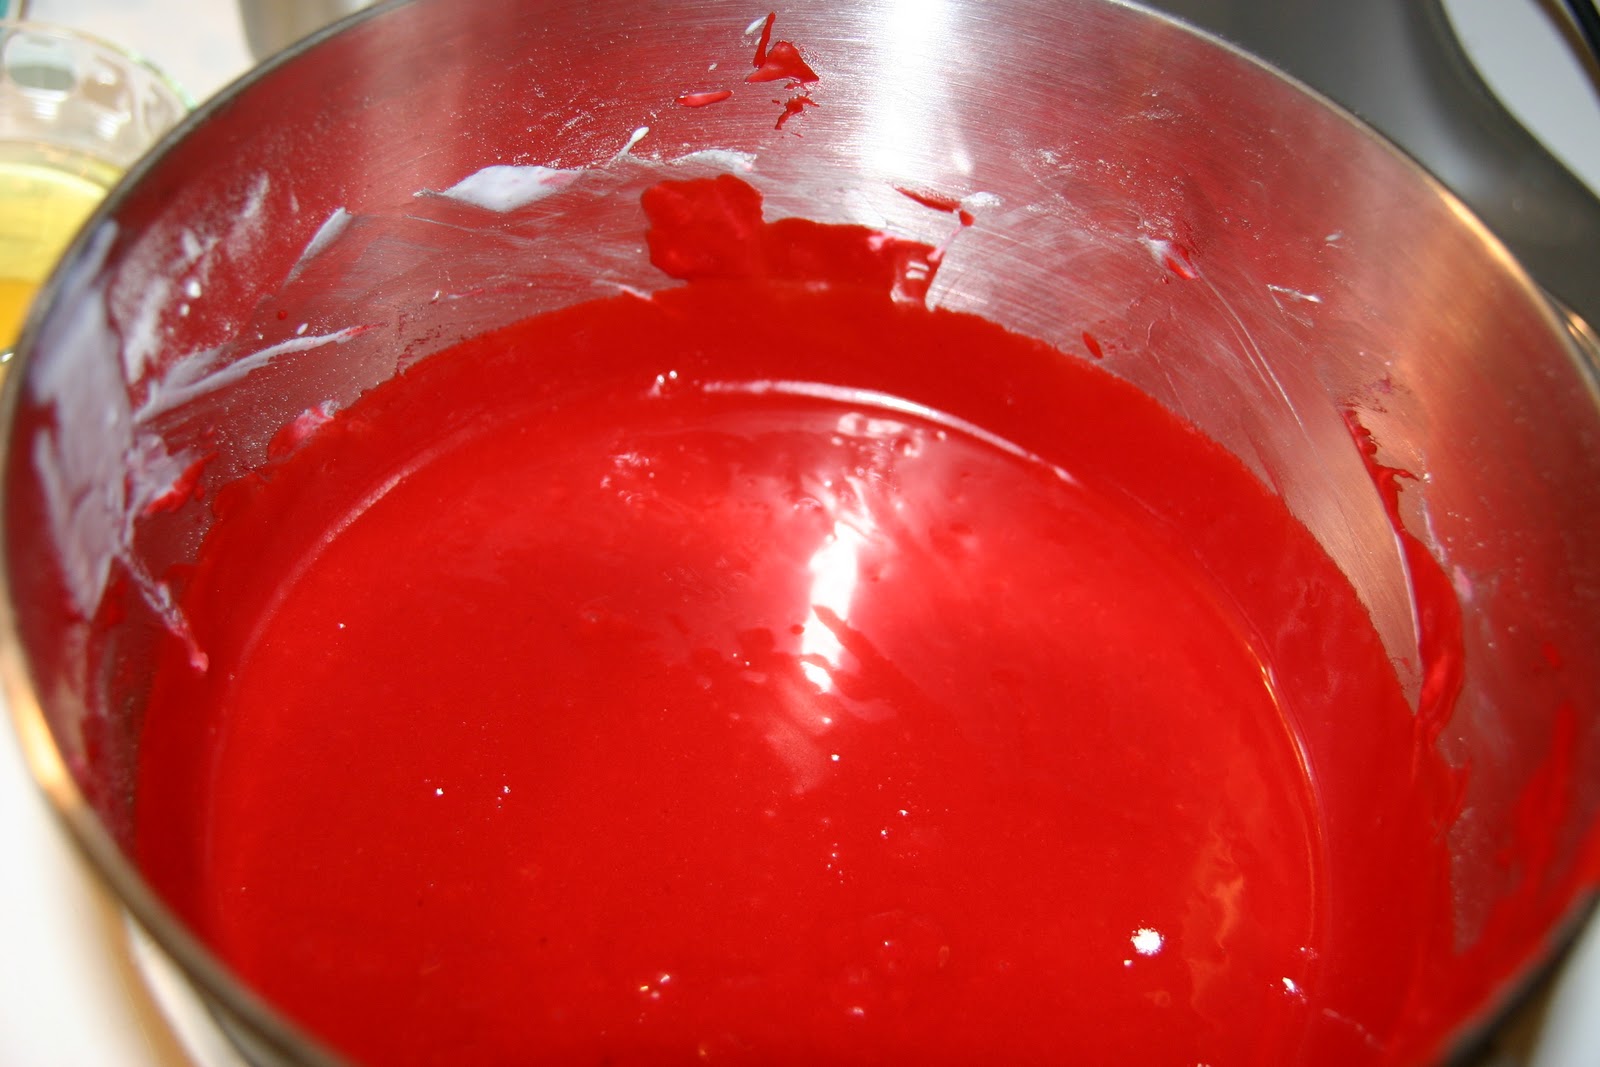
2 ounces food coloring
1 tablespoon vanilla
2-1/2 cups sifted flour
1 cup buttermilk


1.  Preheat the oven to 350 degrees.  (I use an oven thermometer to check my temperature. My oven is 25 degrees hotter than the setting.  That much variation can effect your results.)

2.  Cut wax paper to fit three 9 inch cake pans.  Grease the pans with a bit of oil or cooking spray and place the wax paper on the bottom of each pan.

3.  Cream sugar and oil together with a hand mixer or in a stand mixer.

4.  Add eggs one at a time, beating after each addition.

5.  Add soda, salt, vinegar, cocoa, food coloring and vanilla.  Mix well.  The vinegar will react with the eggs and begin to thicken the mixture.  Don't be alarmed when this happens.

6.  Add the flour and buttermilk alternately in several additions, beginning and ending with the flour.

7.  Divide the batter evenly among the pans.

8.  Bake about twenty minutes until a tester inserted into the middle of the layer comes out clean.  Note that the layers may not all finish at the same time.  When I baked this cake, two layers finished at the same time and the other required another couple of minutes.

9.  Cool slightly on a rack.

10.  Flip layers out of the pans, remove the wax paper and allow to cool completely before frosting with cream cheese frosting.  A note about this stage of cooling: nudge the layers around on the rack from time to time while cooling.  Sometimes the rack will imbed itself in the cake and you'll end up with crumbs when the layer pulls away from the rack.  A gentle nudge to change the layer's position will help with this.


Cream Cheese Frosting
8 ounces cream cheese
1 stick or 1/2 cup butter
1 pound confectioner's sugar
1 tablespoon vanilla

1.  Allow cream cheese and butter to soften to room temperature.  Mix together.

2.  Add sugar a little at a time until blended into cream cheese mixture.

3.  Add vanilla and mix well.

Frosting tip:  Don't scrimp on frosting between layers and use an offset spatula to spread frosting from the middle out.  You don't want to pick up red crumbs and mix in with the frosting.  If this should happen, stay cool!  We can fix this!  Finish frosting the entire cake.  Hold back a little of your frosting and leave it at room temperature. Refrigerate the frosted cake.  When it has cooled and the frosting is set, take the cake out and spread the reserved frosting over the places where the crumbs got mixed in. Voila!  No one will ever know.

Tips on making cupcakes: This recipe will make about 21-24 cupcakes, depending upon how much you fill the cups. Use cupcake liners and fill a generous 3/4 of the way. The baking time will be about the same as for the layers, 20 minutes at 350 degrees.


About red food coloring:  This stuff will stain so be careful.  One year I popped open a bottle of the food coloring with too much vigor and it spilled all over me and down the front of my white cabinets.  I had to use bleach to clean the cabinets and the Nike swoosh on my black warm up pants is red to this day.

Friday, December 17, 2010

Cold Nights

Unfortunately, I lost November.  For that matter, the first two weeks of December sprinted by as well, leaving me with my mouth agape wondering where time has gone.  Can you misplace 6 weeks?  I may sound as if I haven't been fully present, as if I have been holed up in a cave or otherwise dubiously preoccupied--but that would be an overstatement.  In fact this month and a half has just been so jam-packed I have tended to let non essentials slide.

November and December actually looked like this:  My road warrior husband graciously allowed me to tag along with him on business trips to the Georgia coast.  I road-tripped to numerous Auburn football games including the arctic blast that was this year's Iron Bowl and the exhilaration of the SEC championship game.  I spent time in Atlanta with family for Thanksgiving.  I brought my mom back to Fairhope (by way of Jekyll Island) for a week spent sipping warm beverages and hoping Paul didn't notice we were slowly inching the thermostat higher and higher.

When last I checked it was the transitional season I love most, autumn (unless you ask me in March or April and then my favorite is definitely spring.)  But then I blinked and we were slap dab in the middle of what I would swear is winter.  I would never thrive in a really wintry climate.  When the mercury creeps down toward the freezing point, I pull out the gloves and scarves and my pillowy winter coat.  I connect the heated mattress pad and fire up a strategically placed space heater.  Paul survives in the steamy microclimate I create by stripping down to his scivvies and stepping outside periodically to breath.

But the good thing about cold weather is the opportunity it presents  to cook cold weather food.  Oh yes, just as surely as we put away our white shoes and patent leather after Labor Day and pull out our corduroy and woolens, there are some foods that can ONLY be enjoyed after the leaves have turned and the air has a decided chill.  Would you eat a steaming bowl of chili in late July?  Absolutely not!  Likewise, a hearty stick-to-your-ribs meal of braised short ribs is something I tend to gravitate toward as the days have gotten shorter and sweaters and turtle necks begin to make a regular appearance.

This recipe for braised short ribs is now one of my favorite ways to eat beef.  Although not nearly as simple to prepare as throwing a steak on the grill, a meal cooked in a big pot in a slow oven has its own charms.  The aroma drifting through your house if leaked beyond your walls may just bring a casual passerby inside to see if you would be willing to set another place at the table.  It is so versatile it can be served peasant style with a rustic baguette and a simple salad or it can be dressed up with some creamy polenta and roasted vegetables.  When all gussied up it becomes a great do-ahead meal for guests.  And again, when you open the door to invite folks inside, they will feel oh-so welcome and may well never leave.  Last February I put short ribs in the oven while we walked up the street for a Mardi Gras parade.  When we came home, the house smelled like heaven and dinner was ready.  You can't really beat that on a cold winter night!

Braised Short Ribs
6 or so bone-in short ribs, about 6 pounds
kosher salt
extra virgin olive oil
2 cloves garlic
2 ribs celery
2 carrots
1 large onion
2 6-ounce cans tomato paste
1 bottle red wine (the kind you would drink)
1-2 cups water
1 bunch fresh thyme, tied with kitchen string
2 bay leaves


1.  Preheat the oven to 375 degrees.

2.  Pull out your big dutch oven for this.  Coat the pan with olive oil and bring to high heat.  Season the ribs generously with salt and pepper and brown on all sides. Don't overcrowd the pan or you won't get a nice sear on each side.  You may want to work in batches.

3.  While the ribs are browning, cut the vegetables in chunks and smash the garlic.  Process together in a food processor until it forms a coarse paste.

4.  Remove the ribs from the pan and add more olive oil to the same pan.  Add the pureed vegetables.  Season generously with salt.  Allow the vegetables to brown until they are dark and crusty on the bottom, but not burned.  Continue to turn and allow to become crusty again several times.  This will take about 7-10 minutes.  Mix in the tomato paste and allow the mixture to brown again, about 5 minutes.  Add the wine and scrape the pan.  Lower the heat and reduce the mixture by about half.

5.  Return the short ribs to the pan and add water until the ribs are covered. Add the thyme bundle and the bay leaves.  Cover the pan and place in the preheated oven for about 3 hours.  Check periodically during the process and add more water, if needed.  Turn the ribs over halfway through the cooking time.

6.  Remove the lid during the last 20 minutes of cooking to let the ribs get nice and brown and to allow the sauce to reduce.  When done the meat should be quite tender but not falling off the bone. (Although much worse things could happen!)

7.  Serve with the braising liquid.  These could be served with mashed potatoes or pasta. A nice creamy polenta with a little cheese added is probably my favorite, especially when the polenta and the sauce get really chummy with each other!